

Shooting Portraits in Difficult Light
Learn how to get the most out of shooting portraits in challenging lighting situations.
Hello Creatives!
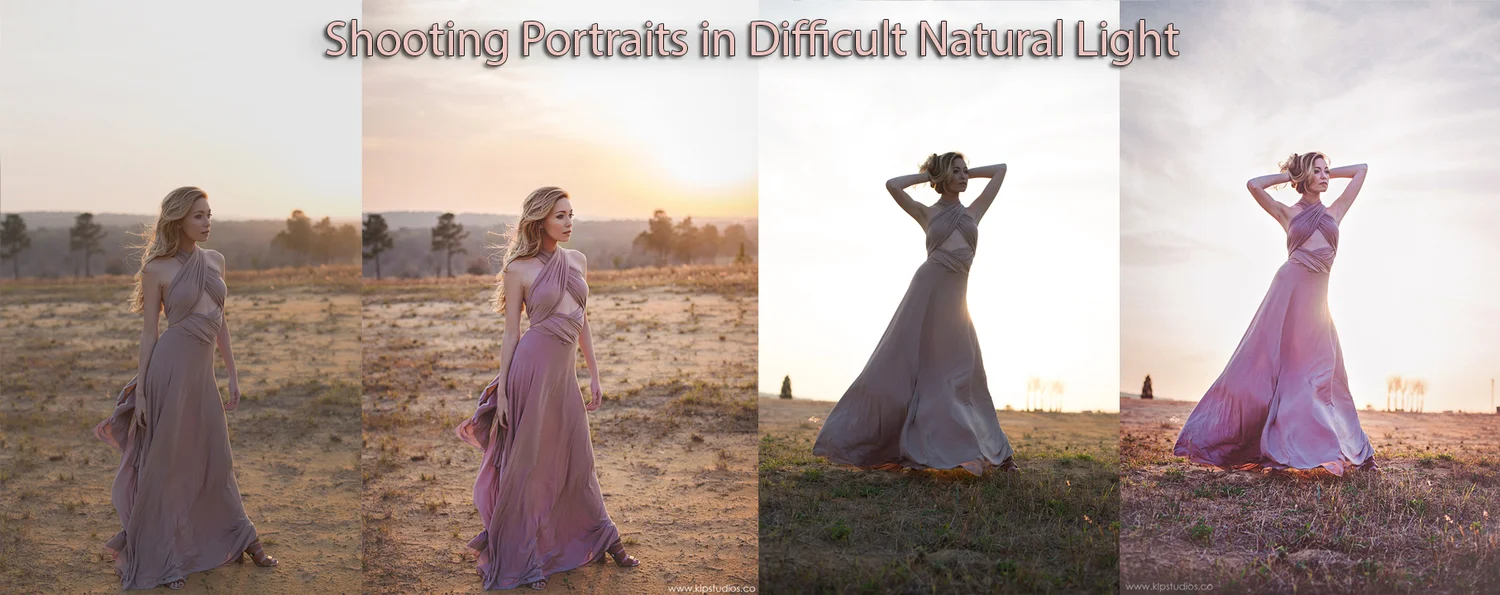
Today I wanted to go over shooting portraits in challenging lighting situations. I love shooting outdoors and using natural light, however that can sometimes present difficulties in achieving your desired final image. My favorite time of day to shoot is the last hour before sunset known as "the golden hour". This time of day typically lends itself to being perfect for capturing gorgeous backlight and soft, warm tones in your images. Whenever you are working outdoors with natural light and not using controlled light, such as flash or shooting inside in a studio setting, you have to be flexible and work quickly. I'm going to briefly go over my approach to taking control of sunlight and using it to your advantage on a shoot, as well as how I transform my images using Emily Soto's Fashion Actions in Photoshop.
In this session I was lucky enough to work with a truly talented country music artist out of Nashville by the name of Lindsey Bryant. Lindsey is as gorgeous and breathtaking to photograph as she is gifted behind a microphone and on stage. We shot this session on location at the Bella Collina Country Club in Montverde, Florida. For this image I positioned Lindsey with her profile to the sun in order to use all of the elements to my advantage. The sun was visible enough to give me the beautiful backlighting I wanted but still was able to give me enough light on her face, and the wind was blowing to benefit the flow of the dress and her hair.
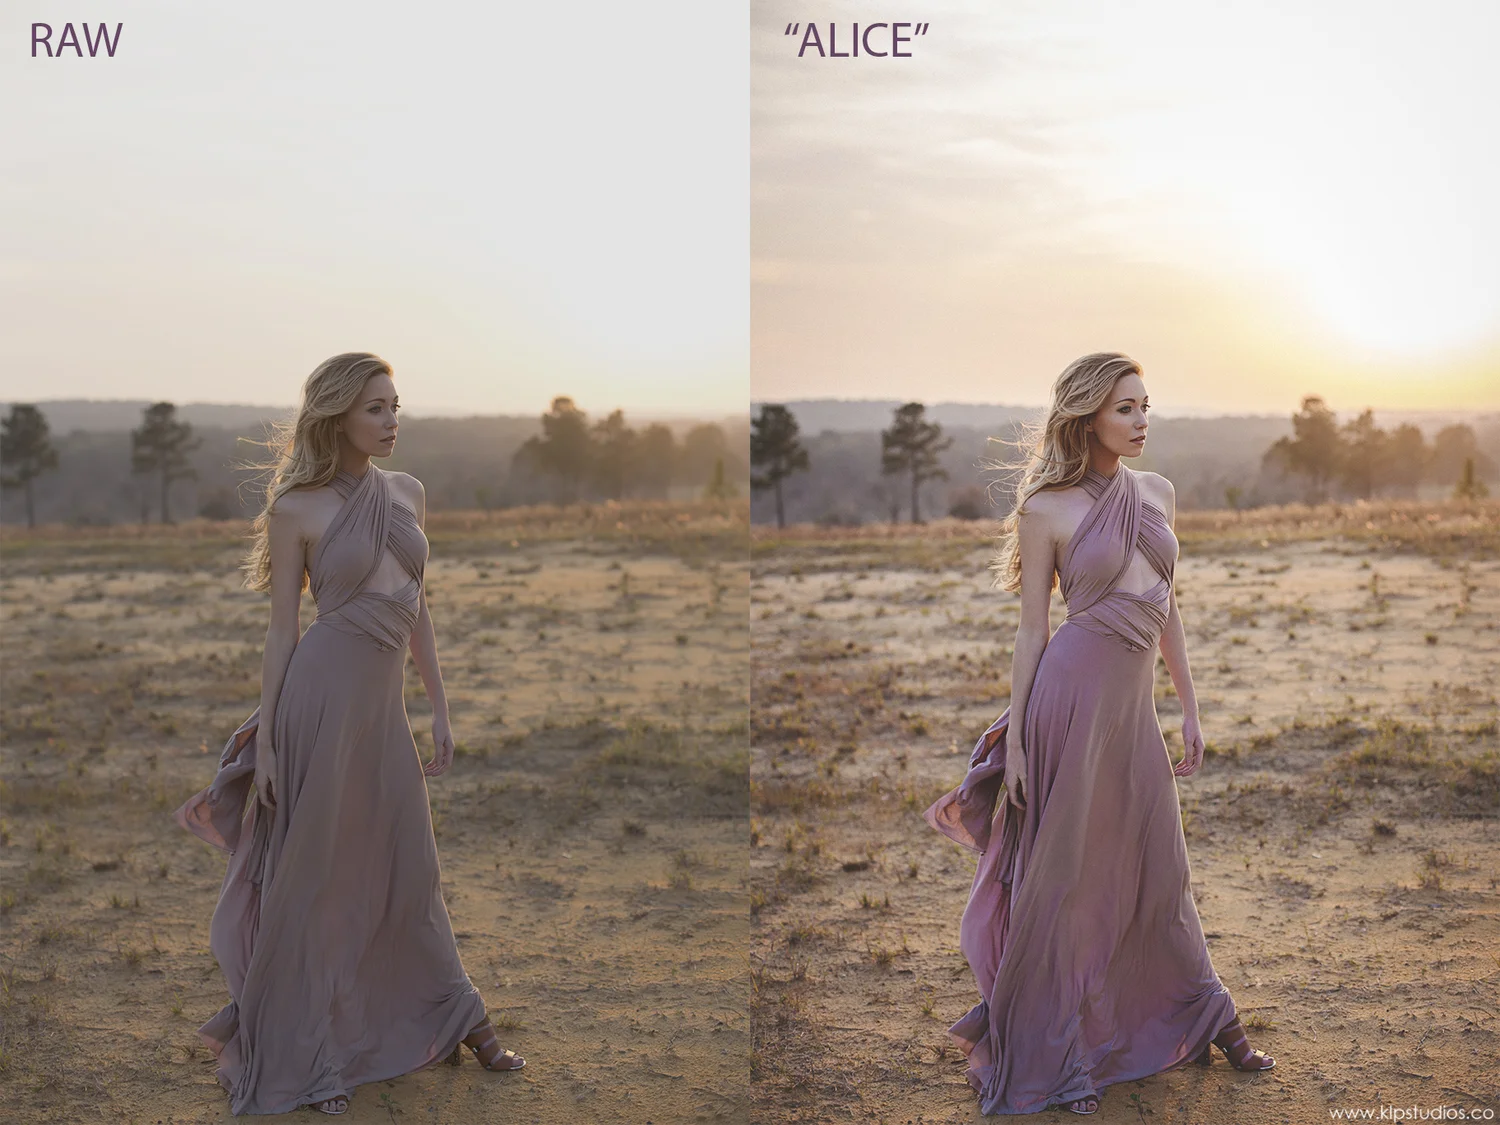
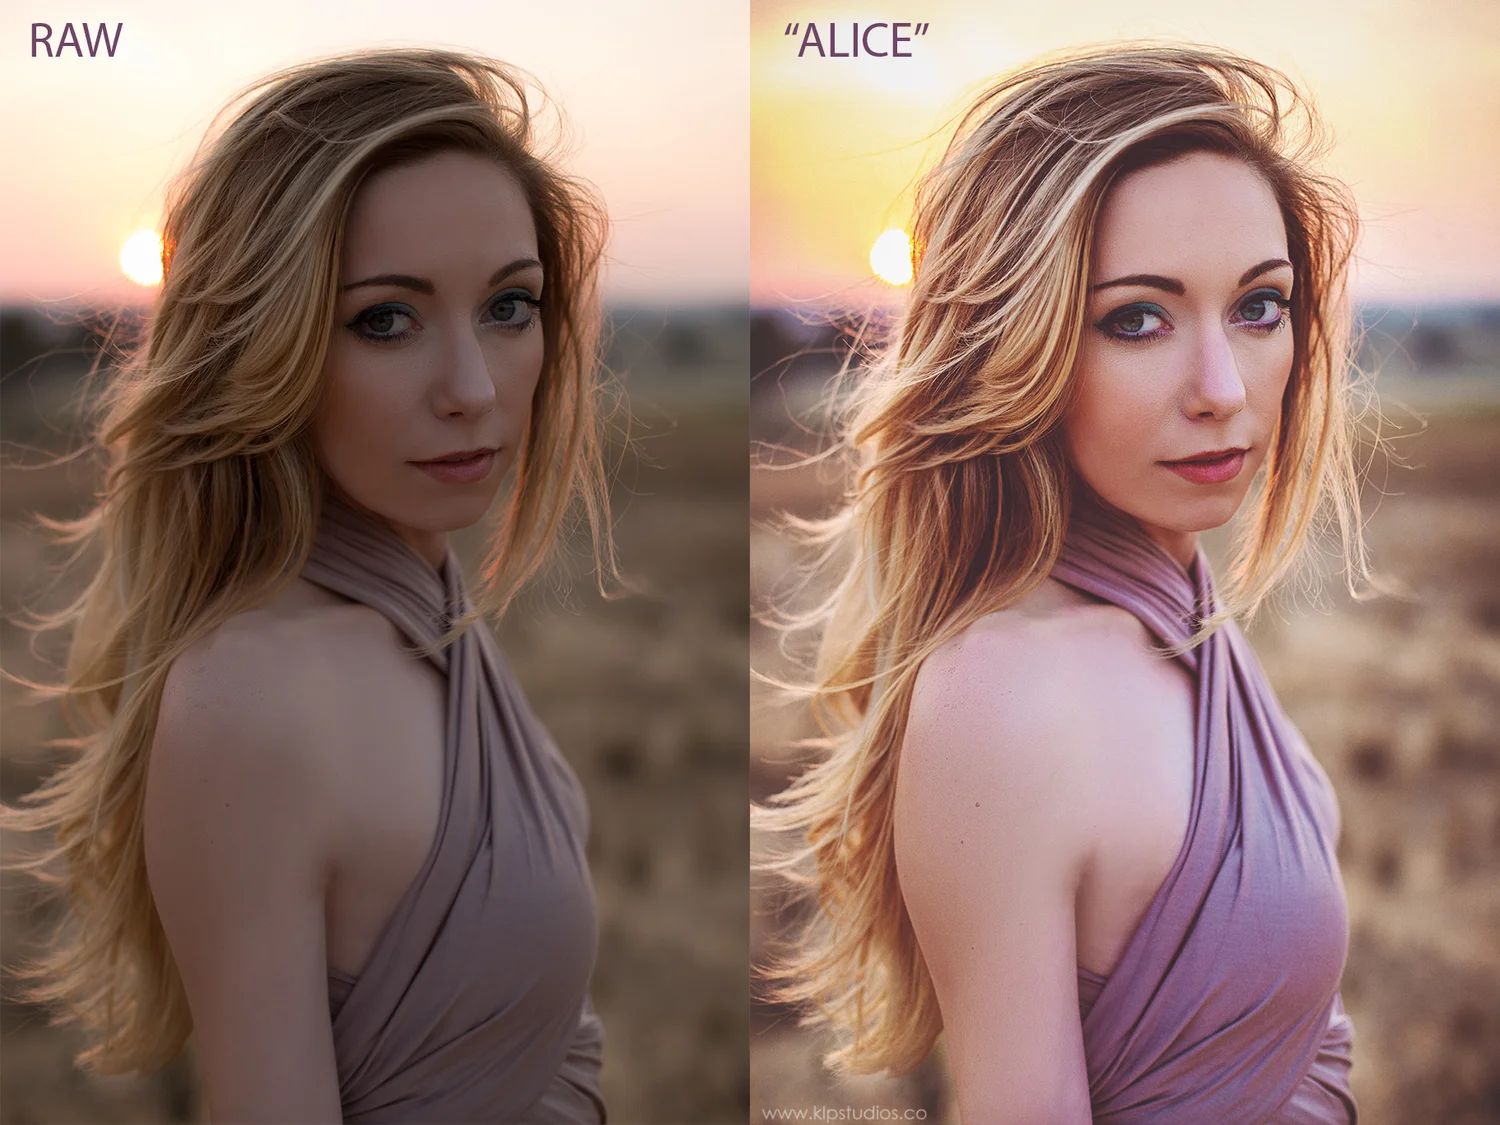
Shooting in these lighting conditions you may want to consider using a reflector to bounce light back onto your models face. Or if you have the equipment you could also use a free standing flash unit to give you the extra light as well. These images were all taken using only my Canon 6D + 50mm f/1.4 lens and natural sunlight. To achieve the best images you will want to try out a few different settings on your camera. I like to over expose my images in these lighting conditions by using a higher iso, slower shutter speed, or a wide open aperture. However, just to cover my bases, I will take a few images that are much darker to capture the details of the background in case I need to replace the sky in any shots.
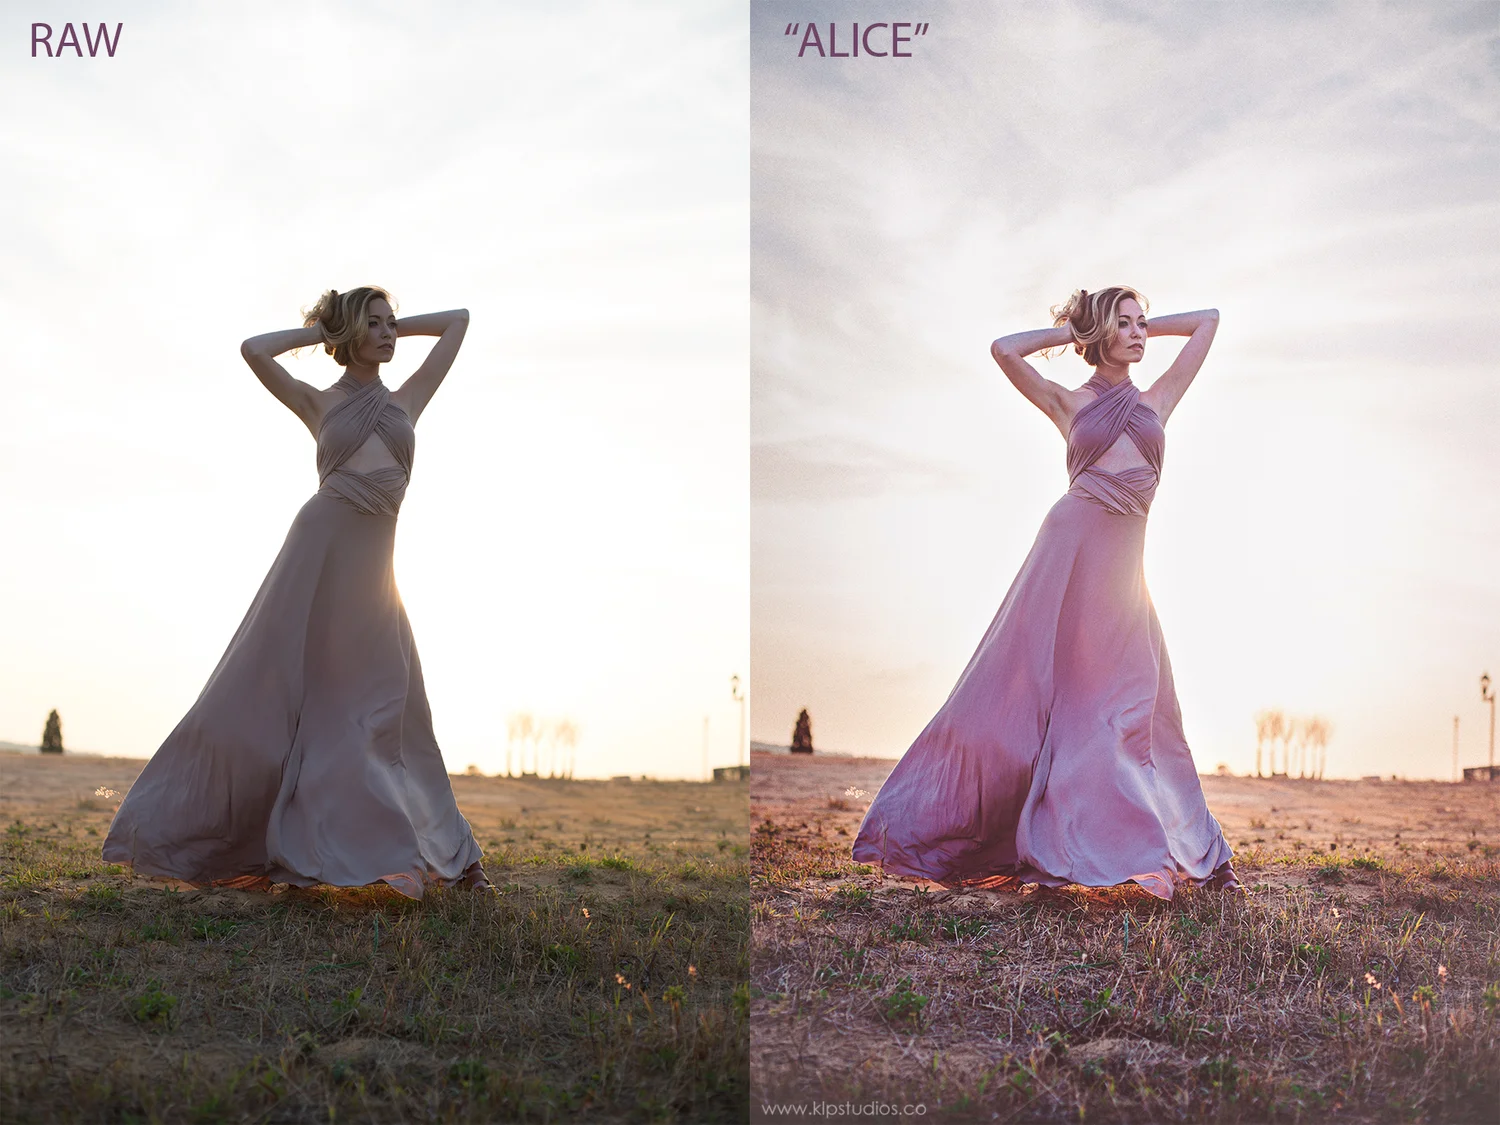
The image above was quite a bit more difficult to envision before it was edited, but I knew shooting in RAW I would be able to pull out the tones of the sky in Photoshop. For all of these images I used Emily Soto's Fashion Actions, first by using the "Fashion Skin" action to get flawless skin retouching. Secondly, I applied the photoshop action "Alice" to each of the images to give them all a cohesive look and lovely warm tone. I positioned Lindsey directly in front of the sun for this image so you would only be able to see the illumination of the rays around her hair and dress. Same thing for the image below, I used the sun directly behind Lindsey to get that gorgeous glowing effect.
Using the Photoshop "Fashion Actions" created by Emily Soto on my work always makes my images stand out in a professional and creative way.

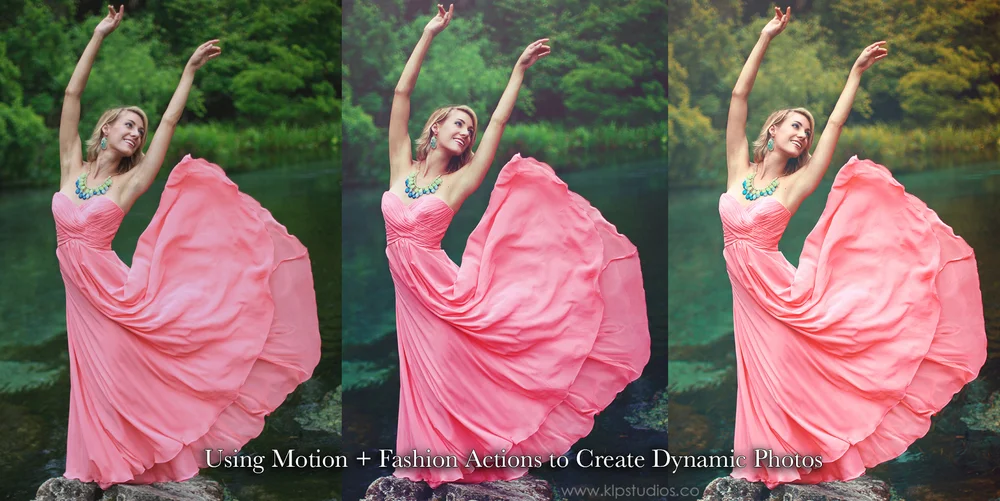
Using Motion + Fashion Actions to Create Dynamic Photos
Bring your images to life by capturing motion and post processing with Fashion Actions.
Hello Creatives!
Today I wanted to briefly talk about incorporating motion into your photographs to truly bring them to life. In my personal opinion, I find images with an element of motion included to be the most compelling. They always draw my eye immediately and keep my mind looking over every detail of the image more than a statuesque photo would. So, how do we do that?
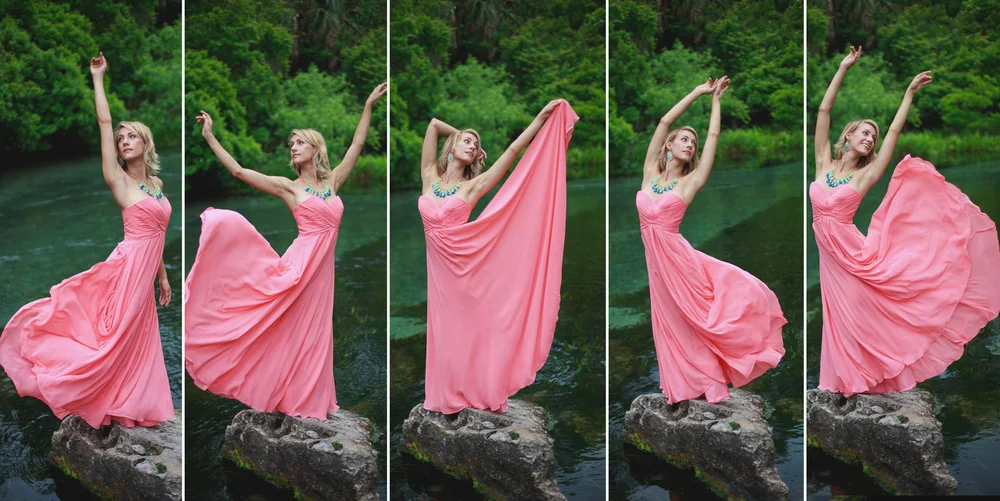
Step 1: Using the Right Prop
For my shoot with my lovely model Deanna we used her flowy chiffon dress. It made a great prop since there was so much material to work with. Scarves, ribbons, veils, flags, and so on can all be great props to really capture a lovely element of motion.
Step 2: Trial and Error
It might take quite a few tries to really get that perfect moment captured. You may also want to make sure you are using a faster shutter speed on your camera to ensure you have minimal blurring. I always want my images to be as sharp as possible. Just keep shooting and communicating with your model until you have a shot you are excited about!
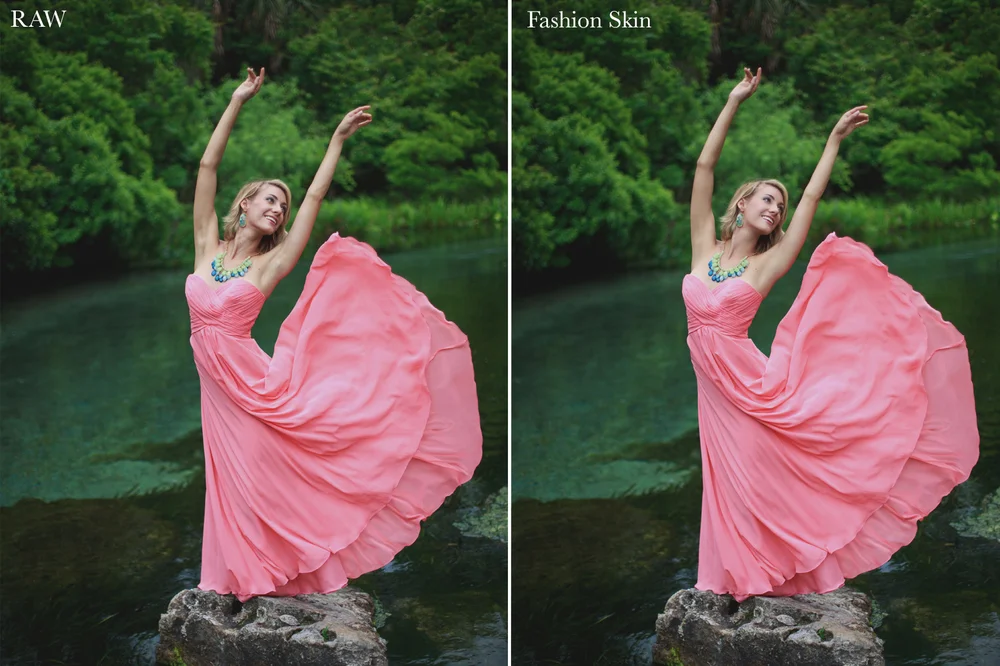
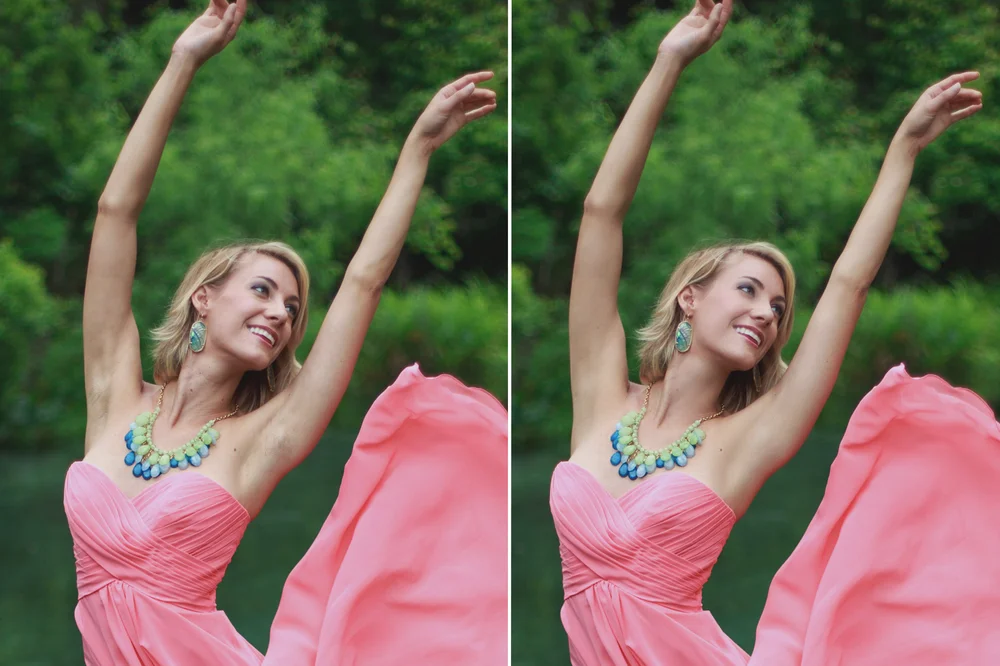
Step 3: Editing Your Image
Next you want to take the image you selected and edit it in an equally dynamic way for a polished and professional look. I always begin with making my cosmetic adjustments and skin retouching before I process any other actions. For flawless gorgeous skin I used Emily Soto's"Fashion Skin" Photoshop Action.
Step 4: Using Fashion Actions to Complete Your Image
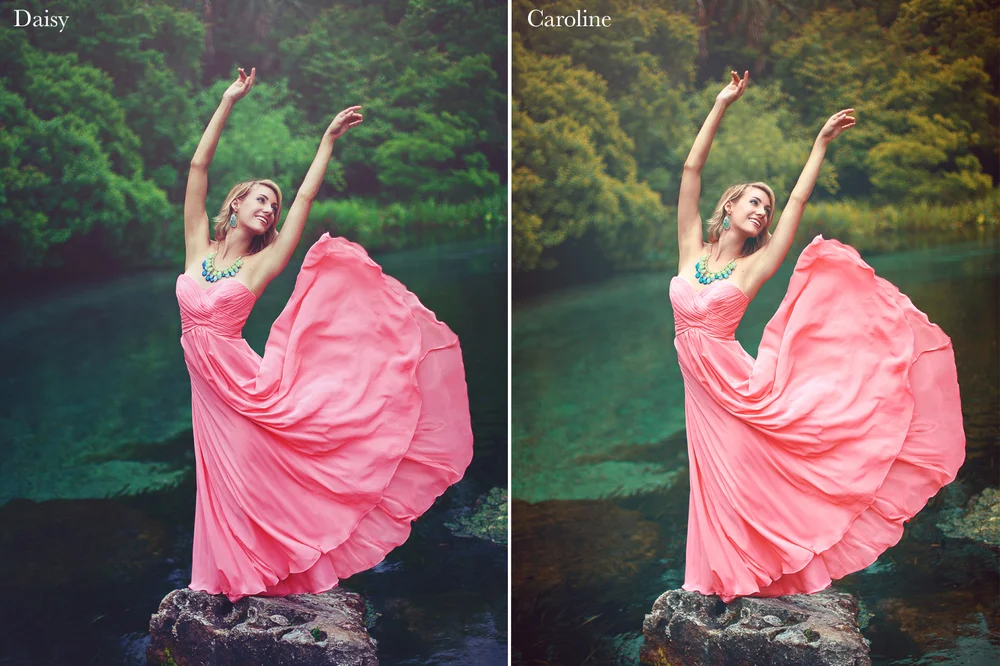
Now that you have smoothed out the models skin and removed any unevenness you are ready for an action. I chose to process my image in photoshop with Fashion Action "Daisy" and again with "Caroline" so you could see the difference. It all depends on the mood and tone you prefer for your personal style.
Now your image is complete!
The end result is a gorgeous image that truly seems to stop time in it's tracks with this powerful motion filled shot processed with stunning actions.
For more information on where to get Fashion Actions or tutorials on how to use them, please visit the official site created by Emily Soto.